-
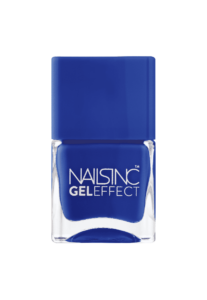
Baker Street Gel Effect Nail Polish
£15.00 More Info -

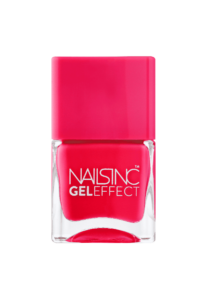
Covent Garden Place Gel Effect Nail Polish
£15.00 More Info -

St James Gel Effect Nail Polish
£15.00 More Info -
Colville Mews Gel Effect Nail Polish
£15.00 More Info -
Kensington Passage Gel Effect Nail Polish
£15.00 More Info -
Regents Place Gel Effect Nail Polish
£15.00 More Info -
Wetherby Gardens Gel Effect Nail Polish
£15.00 More Info -
Sale!
Mini Gel Effect Nail Polish Trio
Original price was: £27.00.£20.00Current price is: £20.00. More Info
-
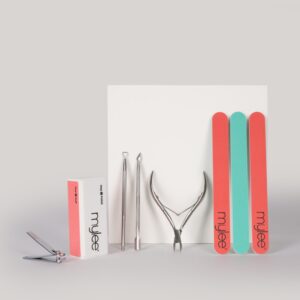
Mylee Manicure Tools Kit
£18.00 More Info -
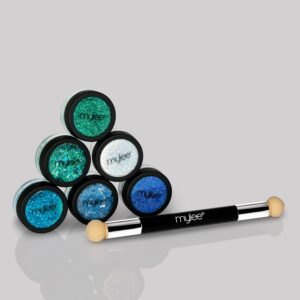
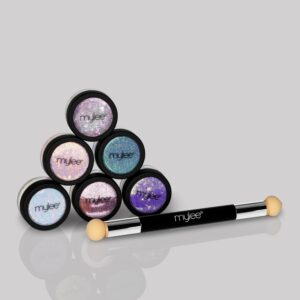
Mylee All That Glitters Kit – Under The Sea
£30.00 More Info -
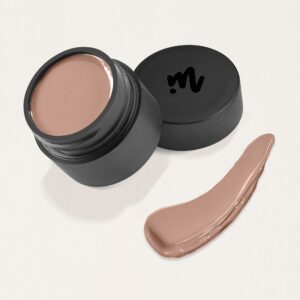
Mylee Pretzel Crème CaraGel Solid Gel Polish – 5g
£7.99 More Info -
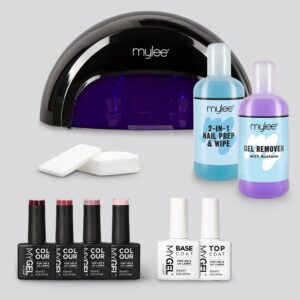
Mylee Black Curing Lamp Kit w/ Gel Nail Polish Essentials
£89.99 More Info -
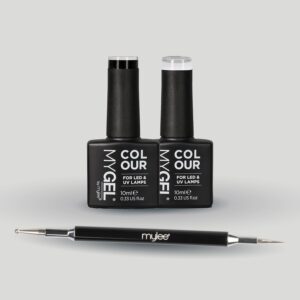
Mylee Get Inked Nail Art Kit
£19.00 More Info -
Mylee All That Glitters Kit – Iridescent Dreams
£30.00 More Info -
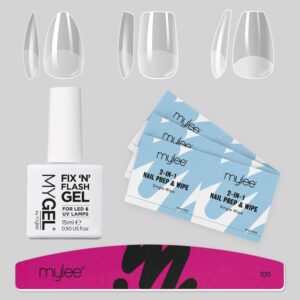
Mylee Fix ‘N’ Flash Shorts Kit
£25.00 More Info -

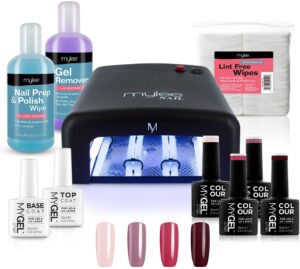
Mylee Black UV Lamp Kit w/ Gel Nail Polish Essentials – Long Lasting At Home Manicure/Pedicure
£60.00 More Info